

Create an API key
Every call to the regfish API needs an API key in the x-api-key header. You create it in the dash.
Where the keys live
Section titled “Where the keys live”Account → Security → API Keys, direct address: dash.regfish.com/my/setting/security/api-keys
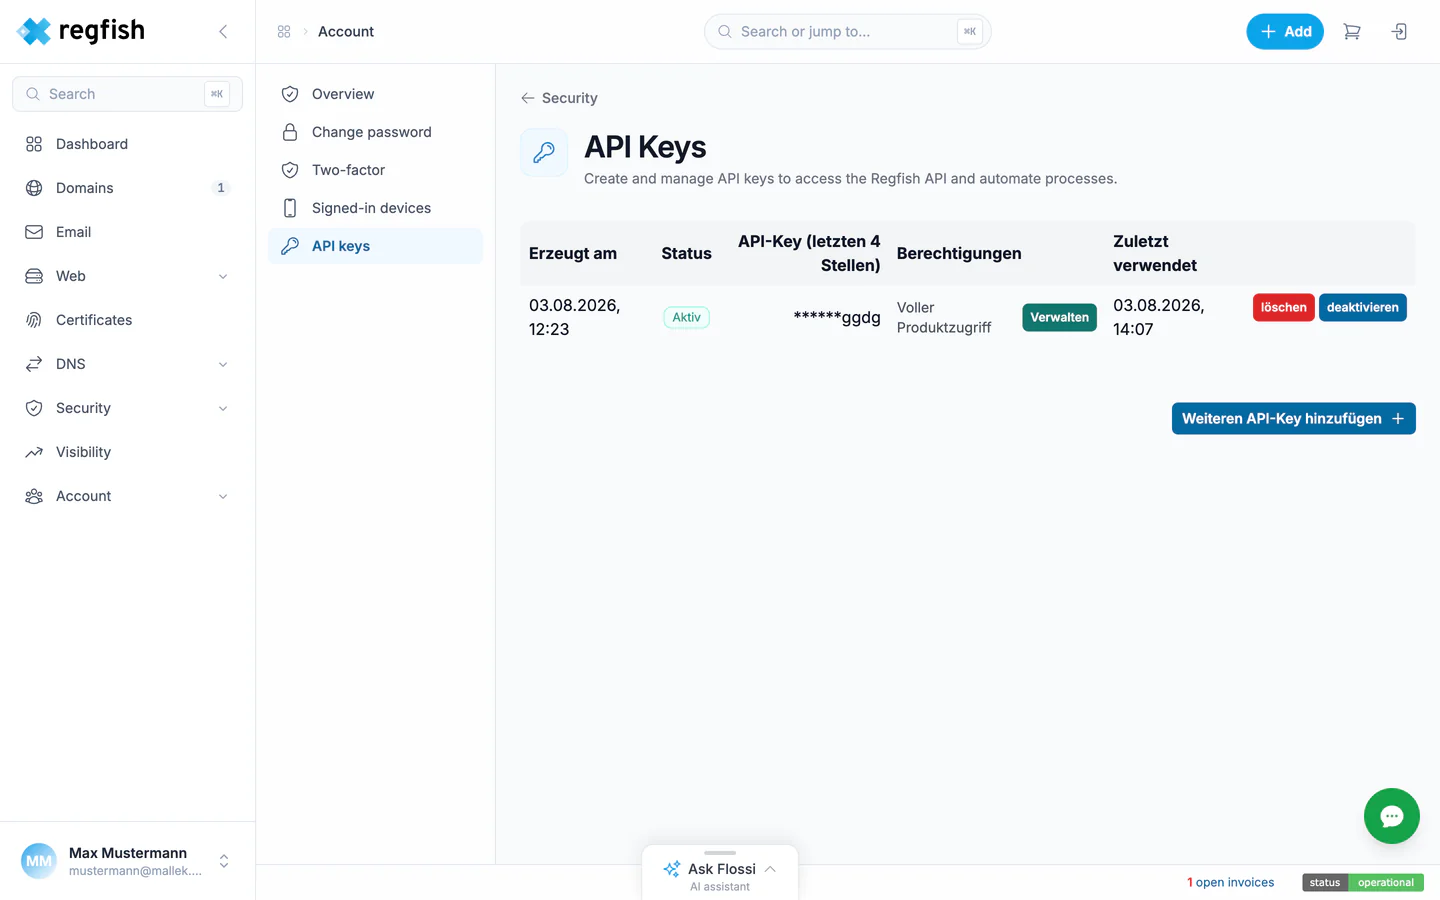
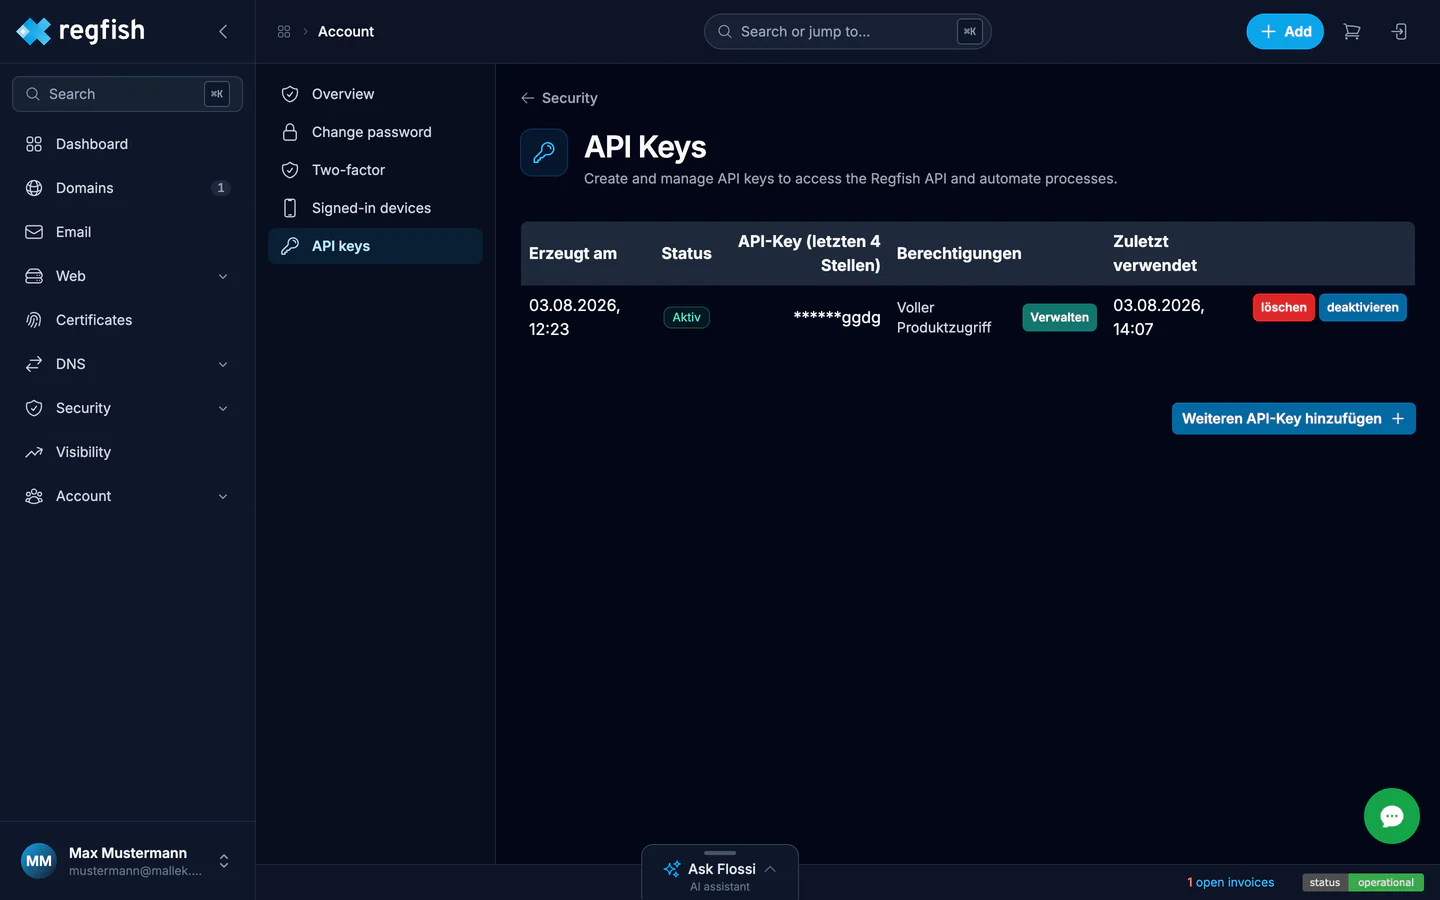
The table lists, for each key:
| Column | Meaning |
|---|---|
| Created | When the key was created |
| Status | Active or disabled |
| API key (last 4 characters) | Only the end of the key - the full value is never shown again |
| Permissions | Which areas the key may use, editable via Manage |
| Last used | How to spot keys that are no longer in use |
Add another API key creates a new one, disable switches a key off temporarily, and delete removes it for good.
The key is shown exactly once
Section titled “The key is shown exactly once”When you create a key, you see its full value once and only once. After that the dash shows only
the last four characters. So copy it straight to where it belongs - into a password manager, into
your CI configuration, or into a .env file outside the repository.
Restricting permissions
Section titled “Restricting permissions”Manage is where you decide what a key is allowed to do. A key with Full product access can do everything you can do yourself. For a script that only reads DNS records that is more than necessary - restrict it to the smallest scope that still does the job.
Which permissions a call needs is listed with every endpoint in the API reference. If one is missing, the API rejects the call and the error message points you to where to grant it.
The API can also tell you which permissions an existing key actually holds: Inspect the current API key.
Using the key
Section titled “Using the key”curl -X GET 'https://api.regfish.com/dns/zones' \ -H 'x-api-key: $REGFISH_API_KEY'Keep the key in an environment variable rather than in the command itself - otherwise it ends up in your shell history.
Next steps
Section titled “Next steps”- Getting started - your first call against the API
- Edit DNS records - the same task in the interface
- Recipes - ready-made procedures for recurring tasks
The same key in three places
Section titled “The same key in three places”The key does not only authenticate the API: the MCP server accepts it for scripts and CI, and at DNS Doctor it raises the daily rate limit.